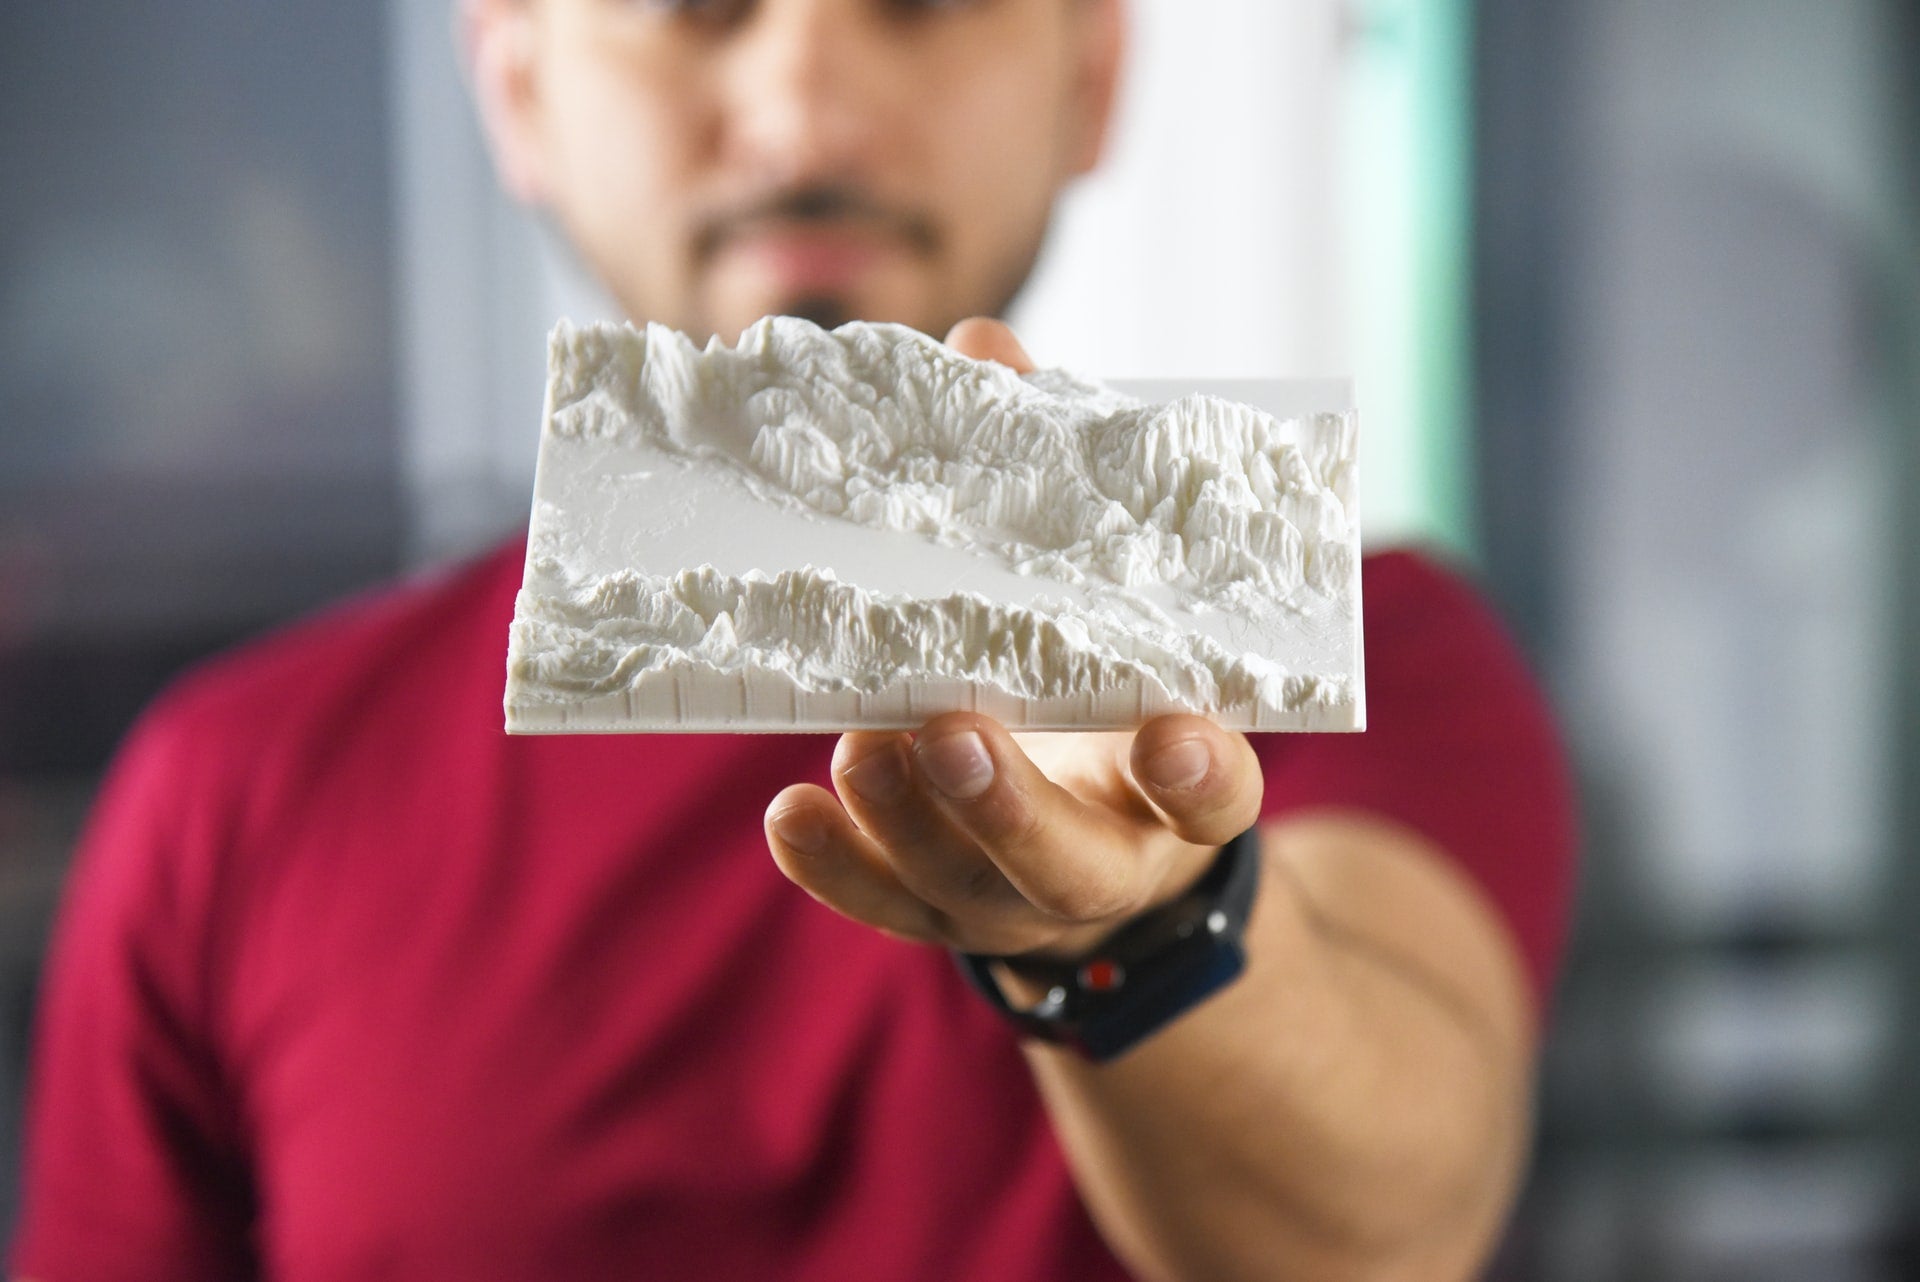

3D printing is a practice that is sometimes easier said than done. You see a design and think that your model will come out the same way after printing. However, creating a good design is only the first step to producing a successful print. Executing your design is another crucial process that requires some expertise and strategies. Here are 7 techniques to get remarkably high-resolution 3D prints.
1. Check if the nozzle is set correctly
Improving your print quality is as easy as checking if your nozzle is set right. The nozzle can make or break your print. First, check if your bed is levelled and the nozzle distance is adjusted properly. Insert a sheet of paper or feeler gauge to check the distance between the nozzle and the bed. You’ll find that you’ll be met with minimal resistance when you pull out the paper or gauge if the nozzle height has been set correctly. It will also slide in no problem. Do this a couple of times to make sure your adjustments are correct.
The nozzle temperature could also affect print quality. Too hot and it could leave your print a stringy mess. This is especially evident in tall structures where the too hot top layer melts the preceding layers, deforming your print. The trick to this is including a one-centimeter cube at the opposite side of the bed to give your nozzle time to travel and cool down before going back to your main structure. To prevent oozing and stringing between the two structures, you could use the wall or ooze shield structure feature on your slicer program.
2. Experiment with different build plates
Different types of build plates can produce different results. Here are the finishes that you can expect with the following build plates:
- Glass, Kapton Tape, and PEI: Smooth finish
- Painter’s tape and Glue-On Polycarbonate Sheets: Matte finish
3. Your overhang will need supports
Complex designs, particularly those that have overhangs, will need plenty of support. Printing it without the latter can cause your print to sag or be destroyed. While supports can also leave marks on the print surface, there is a way to remove it effectively. You can do post-processing methods like sanding and trimming to smooth the marks down.
4. Take care of your filaments
Sometimes, your prints can still fail even though you’ve been doing all the necessary things to make it perfect. What could the reason be? Your filaments. Some filaments are hygroscopic, meaning that they absorb moisture in the air. These can cause popping sounds when printing and worse, leave your prints rough. Prevent this from happening by taking care of your filaments and storing them in an airtight container.
5. Conduct regular 3D printer maintenance
Just like any working gadget, your 3D printer needs routine maintenance to get it working well. Every now and then, check the rails for lubrication and dirt, observe if there’s any wobbling during printing, tighten any loose screws, and update your firmware.
6. Explore your slicer
The slicer plays a crucial role in translating your design to code that is needed to create your 3D print. Familiarise yourself with the slicer features. Sometimes the answers to your problem can be solved by adjusting something in the slicer. In fact, did you know that you can dramatically improve the print quality by switching on the fine or hyper quality settings in some slicers? This will slow the speed of the print down but the result may be worth the while and the attention to detail you will achieve.
7. Post-processing is key to smooth prints
Your print is never going to come out as it does in the photo. FDM printing isn’t exactly known for producing ultra-resolution details. In order to achieve that, your print needs to undergo post-processing. "Here are ways you can smooth down the print surface. ":https://www.×3d.com.au/blog/mirror-smooth-pla-prints
You don’t need magic to improve 3D print quality!
Just practicing the right techniques and using high-quality filaments can give you the ultra-fine quality print you’ve always dreamt of. Want to practice these tips in your next project? Use them together with our bestselling X3D Pro filaments for the best results.