If you have a specific 3D printing design that you can’t find online, it’s time to create it yourself. Here’s our beginner’s guide to designing CAD models for 3D printing.
Step 1: Choose the best AutoCAD program
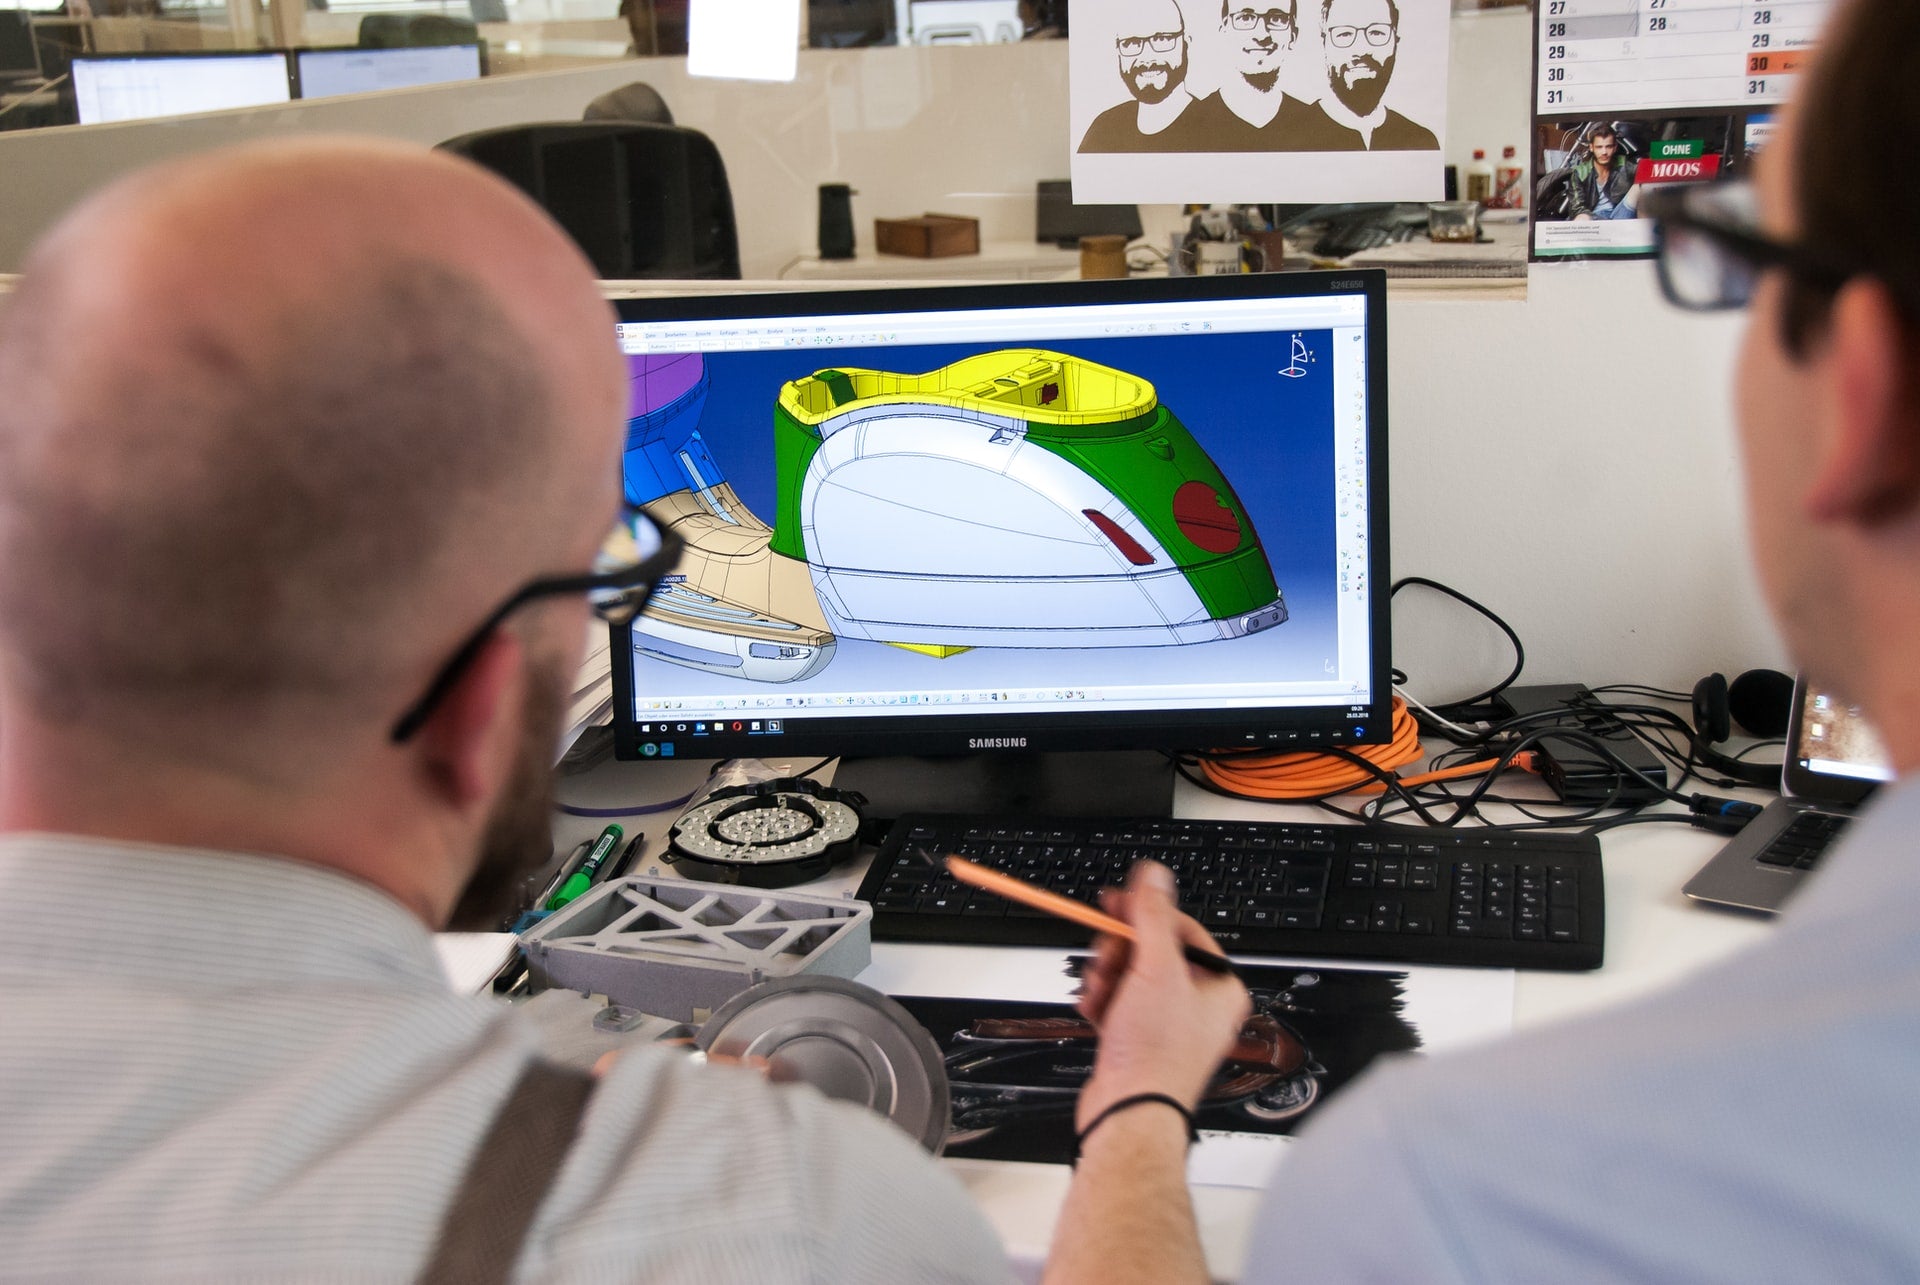
First, you need to find a CAD program that suits your needs. A Computer-Aided Design (CAD) software is a program that allows you to create 3D models on a computer. These 3D models can be used for different purposes, such as video games, animations, and various 3D elements, but for this blog, we will be talking about 3D printing.
There are many programs (both free and paid) available. You just need to know which ones will fit your design needs and technical aptitude.
Best Free CAD software
Fusion 360 Personal Licence
Fusion 360 is popular among the 3D printing community for its ease of use, scalability, and wide range of design features. Created by Autodesk, it is favoured by many users, from hobbyists to industrial designers in the mechanical engineering and product design spheres.
Fusion 360 is free for personal use for three years. This will let you design home-based, non-commercial design, fabrication, and manufacturing projects.
TinkerCAD
TinkerCAD is a free web-based CAD that is perfect for beginners and students. It is easy to use as has a drag-and-drop interface and already has shape templates that can be manipulated into any size with a drag of the mouse.
While it may seem simple, you can create any design you want. It also saves the files on the cloud for easy access wherever you are.
Blender
Another 3D printing favourite, Blender is a free open-sourced design software. It lets users create organic shapes, such as humans, monsters, and animals. It boasts powerful features and a thriving user community to help any beginner ease into CAD design.
Its only drawback is that it is not suited for technical and precise designs.
Best Paid CAD software
If you’re still starting out, it is not advisable to pay for professional licensing of CAD programs as they run expensive. However, if you decide to make 3D printing and design your bread and butter, here are some of the best paid CAD programs: Fusion 360 (professional licence), Sketchup, Onshape Professional, and ZBrush.
Step 2: Study 3D printing and design courses (free or face-to-face classes)
Since each program has a different interface, it can be difficult to teach you how to use it with this blog. It will be best if you watch an online tutorial video or enrol to a face-to-face class nearby. Here are some of the best 3D printing and design courses that we found online:
- Teaching Tech Onshape tutorial
- Make With Tech (MakeWithTech) Getting Started with CAD Modeling for 3d Printing
There are plenty of free tutorials on Youtube for different CAD programs. You can also search Skillshare for more in-depth courses.
Step 3: Important design rules for CAD models for 3D printing
Now that you’re ready to start designing your first CAD model, here are important rules that you need to know to create a successful 3D print model.
1. Always design your objects with a flat base
As 3D printing requires base stability for perfect bed adhesion and first layer, always add a flat base to your design, regardless of what it is. Even if your design is cylindrical (e.g. perfectly round circle), you still have to add a flat base. You can just work around it by removing the base during post-processing.
2. Avoid gravity-defying overhangs or bridges
Similar to architectural design, you need to add support to overhangs or bridges. Without doing so, you’ll run the risk of ruining your 3D prints.
3. Ensure dimensional accuracy
If you are 3D printing a component or part of a larger object, make sure that you pay special attention to the size. CAD programs have grids where you can see how big your model is going to be. Before designing an object, take measurements using a calliper so that it will fit wherever you’re going to install it.
Step 4: Run the CAD design through a slicer
Now that you’re done with your design, it’s time to convert it to a file that your 3D printer can understand. Through slicing, the CAD design is “sliced” into layers with explicit instructions on how much material should be used, how long and fast it should be printed, and where the material should go. Some programs also show possible 3D printing issues with your design so that you can correct them before printing. Learn more about “slicing” here.
Here are the best slicer programs for 2022.
Ready to get started on your first design?
Let us know how it goes. If you need filaments for your upcoming 3D printing projects, check out our bestselling X3D Pro filaments.